Wednesday, August 28, 2013

Potato & Cabbage Pie


Potatoes. Cabbage. Two items I have seen consistently in my kitchen since I was a little girl. Stereotypes about Irish folks aside, I happen to thoroughly enjoy both foods (though I was never much into corned beef - uck!). So naturally, bringing the two together with a little crunch seems like a great idea to me!


You definitely want to start with the freshest head of cabbage you can find - mushy cabbage is certainly a big no no! Also, I know some recipes similar to this one will call for bacon, which by all means, feel free to add. However, this recipe is strictly vegetarian! So carnivores beware...

Begin preheating your oven to 350°F. Once you've gotten your cabbage chopped, go ahead and start peeling those Yukons! This is about the time I put Edward to work, given my tenacity for injuring myself in the past with any sort of peeler.


Once peeled, set all of the potatoes in a large pot. Fill the pot until the potatoes are completely submerged. Bring to a boil until potatoes are soft, at least five minutes or so. Keep the water once the potatoes have been scooped out of the potato one by one, as your cabbage is going in there next. Cook the cabbage in the potato water for five minutes until also slightly tender. Now comes the fun part! Mash the potatoes and cabbage together to your heart's desire.

Next, add your milk. We prefer to use soy or almond milk in almost every recipe, but obviously use what you'd like! I happen to find almond milk is great for making something just a little extra creamy and the hint of almond is so good in a lot of recipes. Following the milk will be the remainder of the ingredients. Don't be afraid to get your hands in there to make sure everything is thoroughly combined.

After the potato cabbage mash is considerably well mixed, it's time to prep the skillet. Butter up your skillet until nicely melted, and then add the garlic and sage leaves. Allow the garlic and sage to infuse the butter for a minute or two before adding that into your potato cabbage mixture. At this point, feel free to further butter your skillet pan if you prefer the taste (and aren't watching your butter intake) or use a cooking spray.
Put your mixture into the skillet pan and bake for 45-55 minutes.


Let cool in the skillet before cutting into it, just to make sure the top is nice and crispy!


Gow dty vee dty fondagh!


Potato & Cabbage Pie


  • 1/2 head cabbage
  • 1 pound Yukon gold potatoes (about 4 potatoes)
  • 3-4 fresh sage leaves, julienne
  • 1-2 tablespoons butter
  • 2 cloves garlic, chopped
  • 1/4 cup all-purpose flour
  • 1 1/4 cup milk
  • 1/2 cup parmigiano-reggiano cheese
  • 2 eggs
  • salt and pepper to taste


  • This dish can be kept in a sealed container for up to 2 days as leftovers (and goes amazingly well as breakfast with a poached egg on top!)

    Thursday, July 18, 2013

    West L.A. Farmer's Market


    Farmer's Markets + me = happiness. This is the first one I've been to since moving to Los Angeles, and I really enjoyed meeting some of the vendors. Great people and great produce.


    Check it out if you live locally:  West L.A. Farmer's Market


    Tuesday, July 16, 2013

    Strawberry Rhubarb & Lavender Cream Cheese Tarts


    I've always thoroughly enjoyed certain foods most kids loath to their very core. Vegetables like beets, broccoli, and brussels sprouts have been consistently present in my diet. Pardon my alliteration, but there's no denying most little ones are picky eaters. The only thing I refused to eat besides meat was my mother's creamed spinach (Sorry Mum!), but I've come around since then. Maybe because I grew up eating things that frightened most, I became more interested in eating things that are easily overlooked in cooking. 
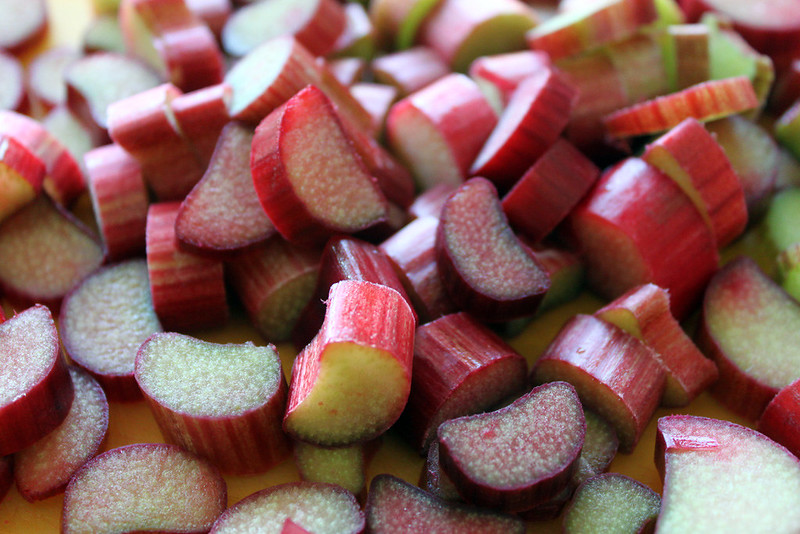
    Rhubarb, I've found, is one of those foods.


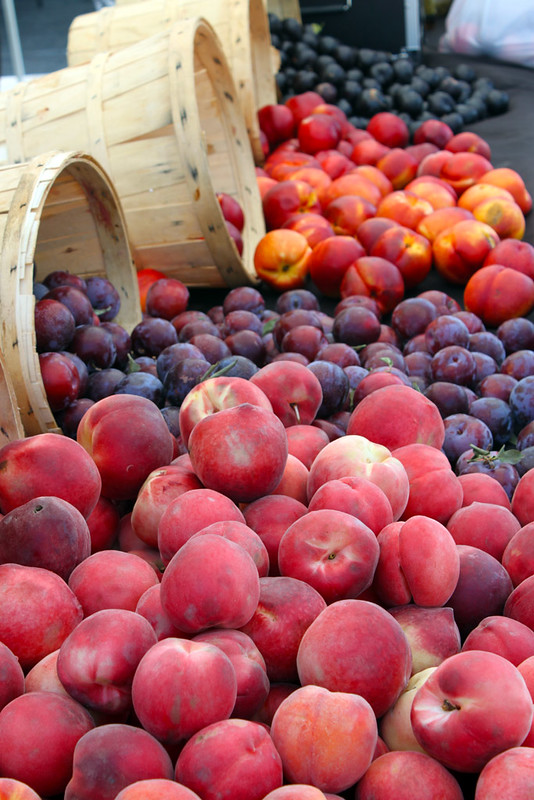
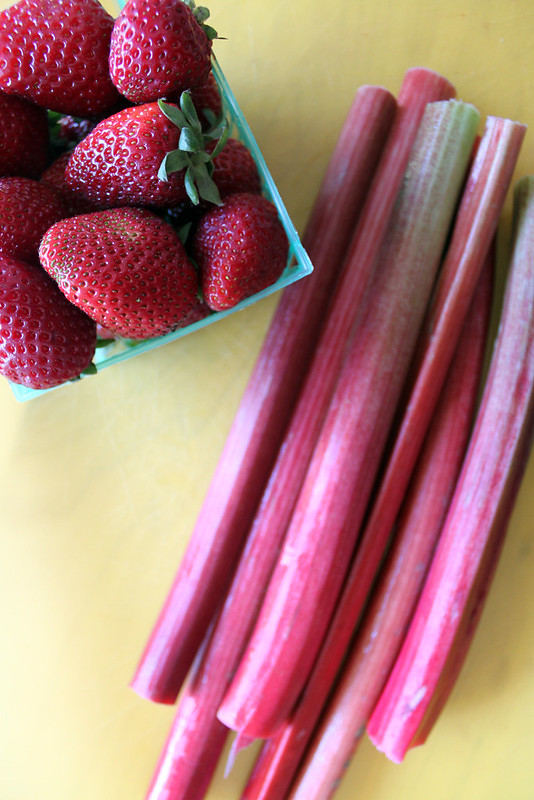
    Sure, it looks like alien celery. I get that. But my goodness, is it ever tasty! I like a little tang with my sweet, so naturally, this is the perfect ingredient to mix with fruit. My favorite traditional combination is with strawberries, or berries of any kind, for that matter.


    Look up "rhubarb" on any food blog, and you'll likely find it used in some sort of sugary concoction. This recipe is no different, because I like my treats wrapped up in pastry quite often. And, of course, when you find a great recipe that moves you, you just have to go with it! To use their words, this recipe is "shamelessly inspired" by Smitten Kitchen and their Rhubarb Cream Cheese Hand Pies.

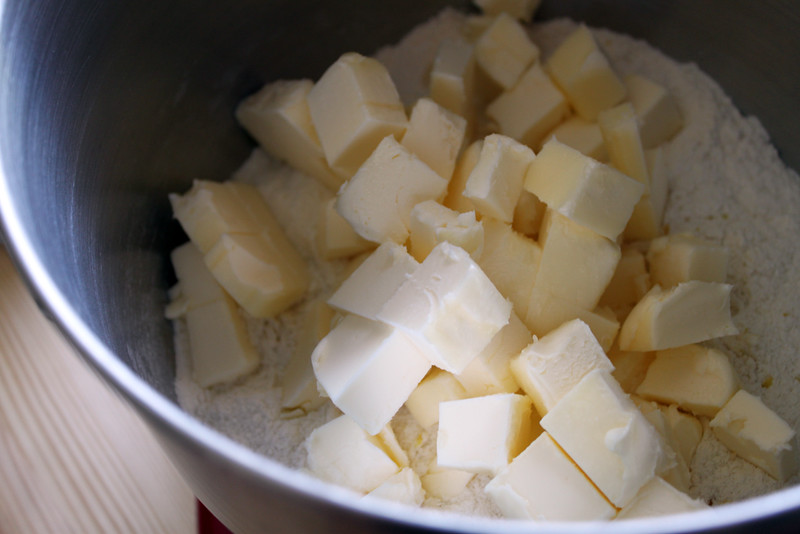
    Now, gather all your necessary supplies and get to work on the dough! I can't stress enough the necessity of cold, cubed butter when making pie dough - it's crucial if you want it to come out right. Keep it in the fridge until you're absolutely ready to use it. Mix your dry ingredients first in the bottom of your large bowl or stand mixer bowl, and bit by bit, add in your butter. Use your hands! Seriously, don't be afraid to get a bit messy. It makes the experience that much more fun.


    When it comes to a good consistency, slowly mix in the heavy whipping cream and continue to knead the dough. You want to be able to tuck it all together into a neat little ball, and then it'll be ready to be wrapped and nestled in your fridge for at least two hours. With the dough taking a nice nap, it's time to prep your fillings. 


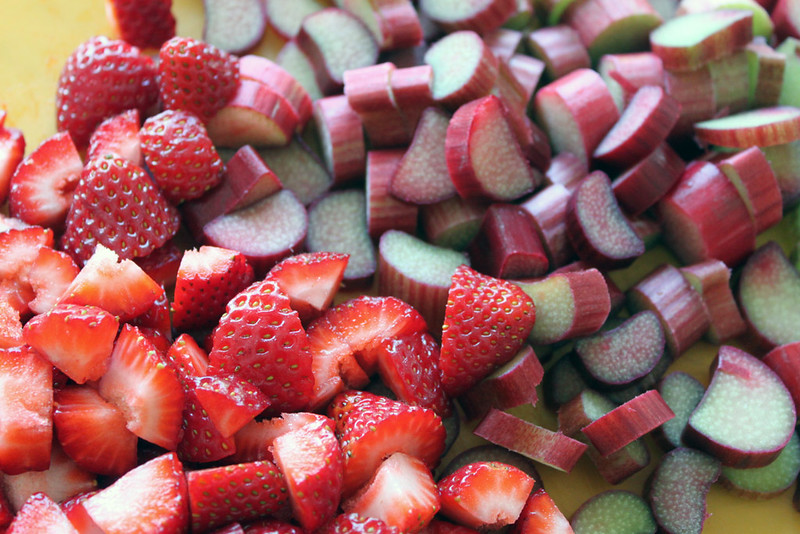
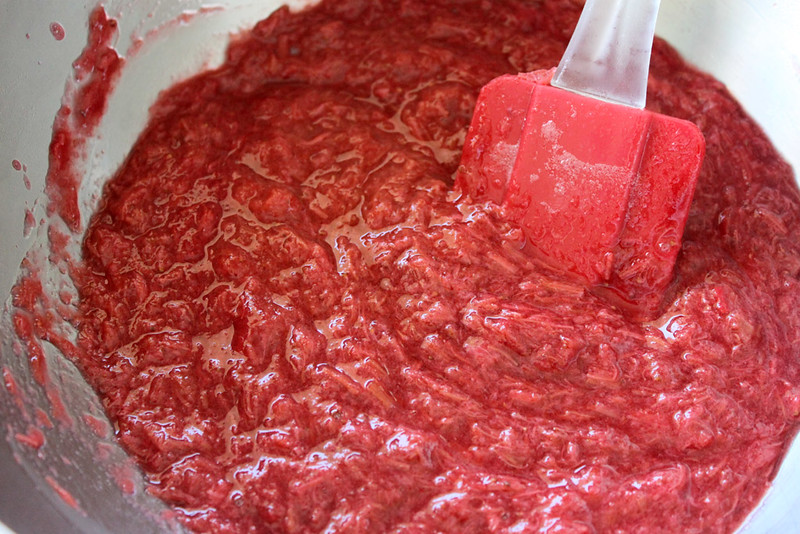
    Mix the rhubarb and strawberries with the sugar in a pot set on medium heat and cover for 20 minutes, until the rhubarb is tender and soft. You'll likely need to drain just a little bit of liquid from the pot, as the strawberries will make everything gooey. You can let the fruit filling set for a few minutes while the cream cheese mixture is being made.

    When using lavender sugar, the more citrus the better! I adore both lavender and citrus, so combining them into a creamy filling is heavenly. Using a rubber spatula, fold in all ingredients together, using cream cheese that is extremely soft so that it doesn't clump.


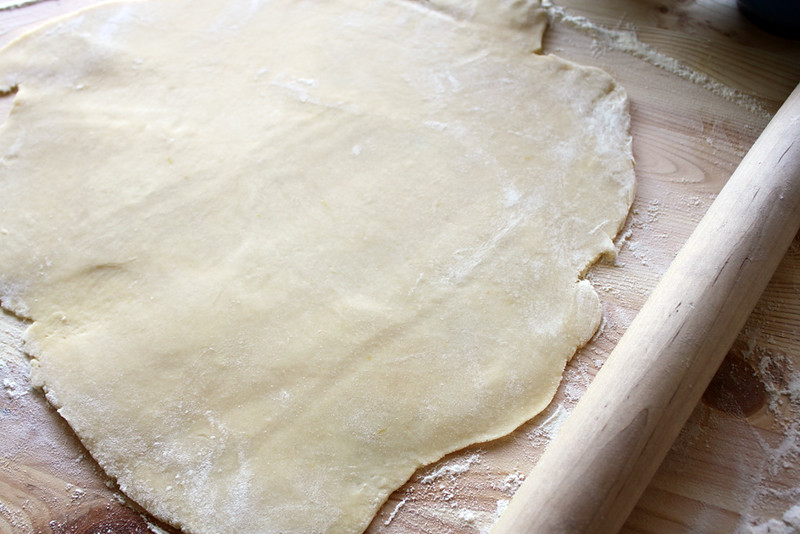
    After two hours, get ready to toss on something other than black, because it's time to cover everything in flour! Unless you have an extremely large counter or tabletop, you can roll out the dough into two pieces by splitting it up in half first. If you're able to get the two rolled-out pieces into similar sizes, you can carefully stack them and then cut your dough so that you're guaranteed to have matching shapes. Just make sure the dough layers don't stick to one another!

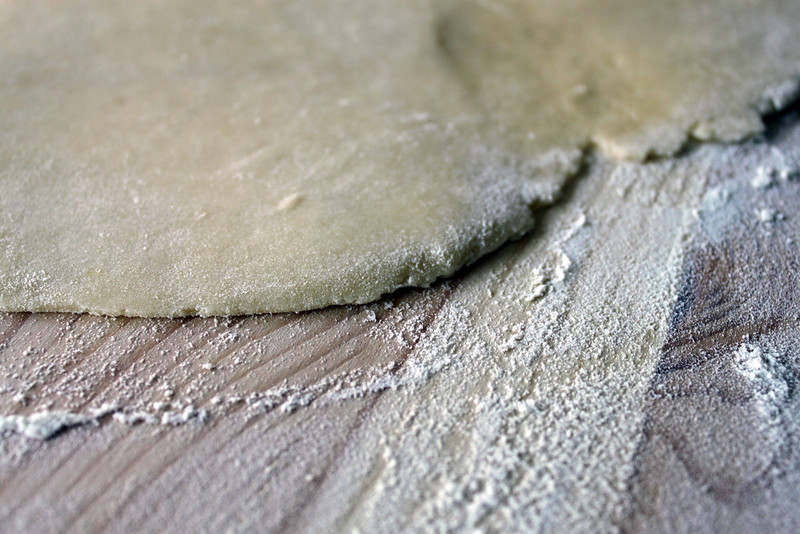
    Before you start squaring off your dough, pick out a tool that won't rip the dough as you cut it. If you have a steady hand, you can use a pizza cutter to ensure a straight line. Otherwise, cookie cutters are never a bad way to get even shapes. I chose to follow along with the original recipe's design and make mine into squares since I have yet to find my circular cookie cutters after moving - darn it.


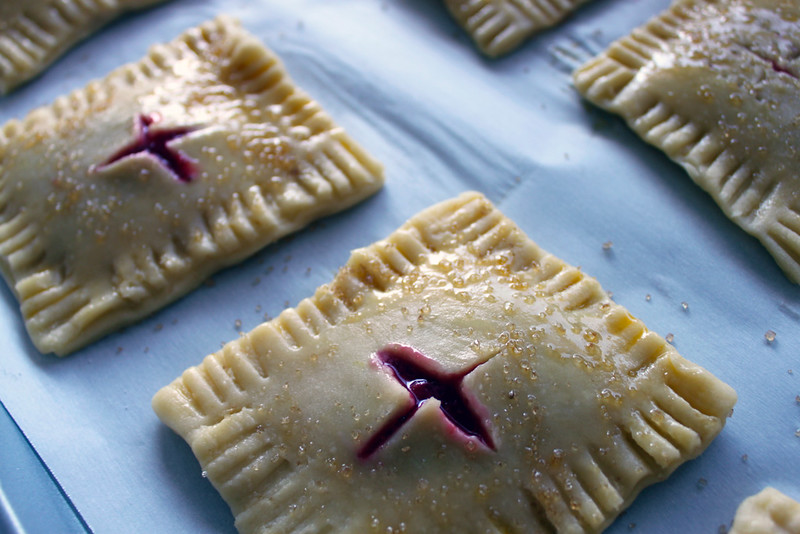
    Lightly brush your pastry squares with egg wash, and begin spooning out your fillings in 1/2 tablespoons. No need to spread to the edges, as the filling will likely do that all on its own. Lay the paired square on top of the filled pastry and pinch the edges closed either by using your fingertips or a fork. Lay each tart on a parchment-lined baking sheet at least two inches apart from one another.


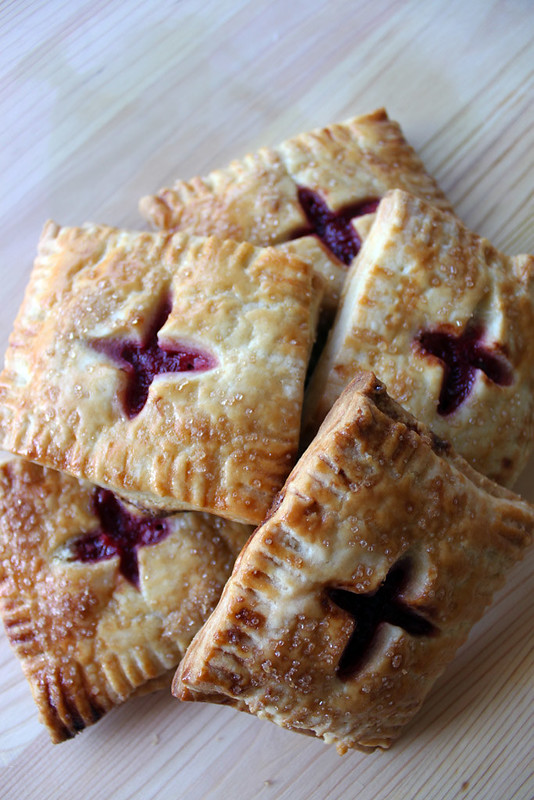
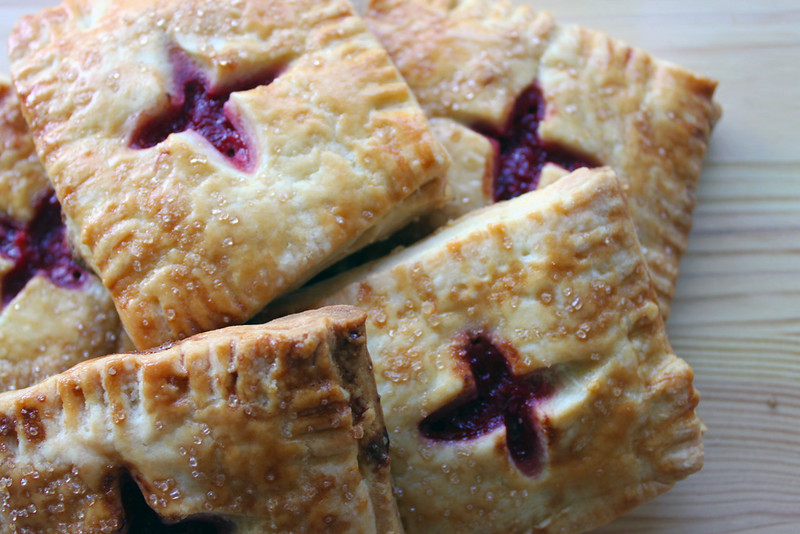
    Once you've assembled and brown-sugared the tops of the tarts, go ahead and pop those suckers into a preheated 400°F oven. I have a relatively, uh, classic oven (which is a nice way of saying 'fickle bitch'), so times may vary for those with less temperamental appliances. These tarts took me about 22 minutes to bake, but it'll likely take less time for you folks so check them around the 15 minute mark to see if they need more time. Let them properly cool once they're good to come out, using either wire racks or a cool ceramic surface.


    SO PRETTY. 
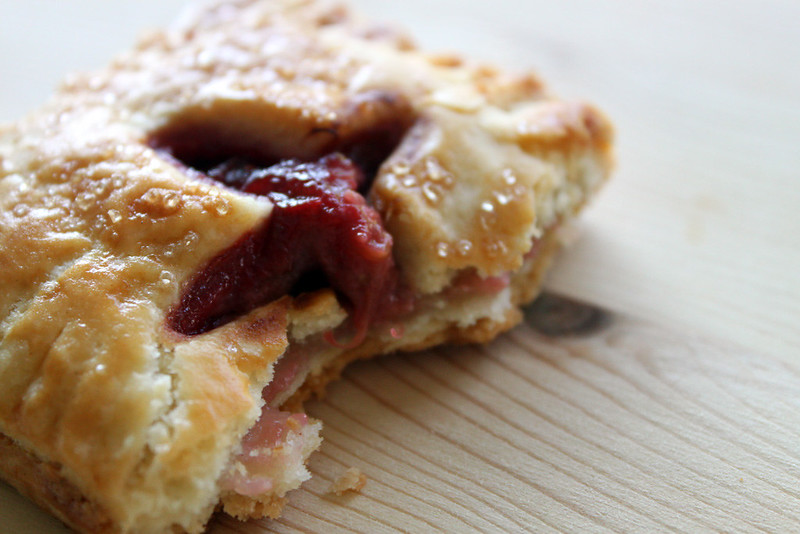
    Yeah, that's the first thought that came to mind, so I went with it. And the aroma has definitely put me into a state of relaxation like finished baking tends to do. Ed insisted we have an "action shot" to showcase just how soft yet flaky the pastry turned out. I'm positive he just wanted the first bite!


    Smaklig måltid!


    Strawberry Rhubarb & Lavender Cream Cheese Tarts

    Pie Dough

  • 3 1/2 cups all-purpose flour
  • 1 teaspoon salt
  • 1 tablespoon granulated sugar
  • 1 teaspoon lemon zest
  • 12 tablespoons cold butter, cubed
  • 2/3 cup heavy whipping cream


  • Strawberry Rhubarb Filling

  • 1 1/2 cup of strawberries
  • 6 stalks rhubarb
  • 1/4 cup granulated sugar

  • Lavender Cream Cheese Filling

  • 4 ounces cream cheese
  • 1 egg yolk
  • 1/6 cup granulated sugar
  • 1/6 cup lavender sugar *
  • 1 tablespoon lemon zest
  • 1/4 tablespoon fresh lemon juice


  • Egg wash will be needed for coating, as well as brown sugar.
    I use raw turbinado sugar, but feel free to use any kind you like.


    These tarts can be frozen and reheated in a toaster oven for up to a month, but I'm sure they won't last every long if my household is an indication.


    You can pick some up at WholeSpice, otherwise check out some recipes for 
    lavender-infused sugar. It's fantastic and so versatile.


    Sunday, June 30, 2013

    Heirloom & Roma Tomato Bruschetta


    Being in an Italian/Irish family meant a lot of hearty home-cooked meals growing up, many of which have stuck with me. I credit most of my culinary prowess to those in my family who were rarely seen without a least a dash of flour on their apron or smelling of fragrant herbs. Some of my most cherish memories involving food are helping my Grandma pick fresh fruits and vegetables from her garden, namely tomatoes. While other kids were chomping down on chips and candy, my Grandma made sure that whatever sweets I was allowed to eat were going to be preceded by at least a bowl full of her garden treats.


    Truly, what isn't there to like about tomatoes? They're the gemstones of the fruit world that come in a variety of colors and you can include them in an array of different cuisines. Particularly, I'm a fan of simple recipes that enhance the tomato's already sweet flavor by adding a bit of savory contrast - like that of garlic.


    I tend to use garlic at least 3-4 times a week just for its versatility. I've gotten away with garlic in the most strangest of ways (think garlic and crystallized ginger chocolate cake) and thus it will forever hold a place in my culinary spectrum.

    I was fortunate to come across a fantastic recipe for Rustic Rosemary Garlic Bread while on the hunt for a herb garlic loaf about a year back, and I can't stop making it with my personal touches added here and there. It's simply perfect for my Heirloom & Roma Tomato Bruschetta!


    Granted, my loafs never come out looking as pretty, but they certainly have character (much like Shrek). However, the aroma is to die for and makes my apartment smell like a tiny restaurant in Tuscany. I highly recommend trying out the recipe for yourself!

    The beauty about bruschetta is how easy it is to make something taste so amazing. I personally love pairing it with a side of buffalo mozzarella or something similar. This literally takes maybe 10 minutes of prep and then it's good to go (which is great because Edward really gets grumpy when he's hungry).


    Buon appetito!


    Heirloom & Roma Tomato Bruschetta


  • 1 large roma tomato
  • 2 pounds of  heirloom tomatoes
  • 5 to 6 large basil leaves
  • 2 tablespoons of sundried tomatoes, julienne
  • 2 cloves of garlic
  • 3 tablespoons extra virgin olive oil
  • 1 tablespoon balsamic vinegar
  • a pinch or two of salt and pepper
  • (serves 2-3 as an appetizer)


    Dice heirloom and roma tomatoes into small pieces and chop the garlic finely to your preference (sometimes a big chunk is a nice surprise!). Gather all the basil leaves and stack them on top of one another, then roll together tightly before cutting the leaves into diagonal strips. Combine diced tomatoes, sundried tomatoes, basil, and garlic in a bowl. Add olive oil, balsamic vinegar, and salt and pepper to the bowl and mix ingredients well.

    Serve on thinly cut pieces of grilled rosemary garlic loaf.


    Pro-tip: The bowl will likely have a lot of juices at the bottom. Dip your bread in there before adding the bruschetta on top for extra deliciousness!


    Introductions


    Hi, I'm Sara Marie, and I have an addiction to procrastination.

    I really should have begun this blog sooner. No, really, I should have. It's been in the works for years while I've been photographing practically everywhere I go and everything I eat (yes, I'm one of those Instagram folks). I suppose my recent move has sparked me to finally get on it, along with half a dozen other projects I have yet to complete or even begin, for that matter.

    So thus begins a new aspect of my online life.